

Returning to 3D Modeling
My first experience was with CATIA for and engineering class. Now with TinkerCad, the learning curve was an interesting new experience. When I first started, I was thinking in terms of precise measurements, clashes and constraints, so I adjusted to relying on my 3D visualization. Funny enough, I learned those skills in a course called, "Intro to Engineering," where I played with blocks as a college freshman. My ego was stomped until it was black and blue from that class, which made learning TinkerCad more fun. Thanks to that class, earning TinkerCad as a college senior did not feel degrading at all...
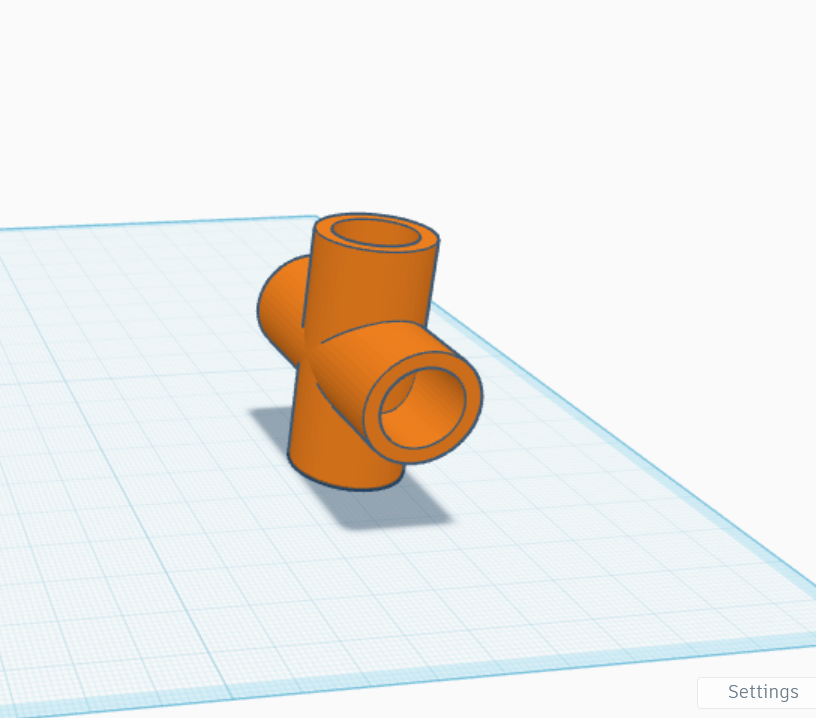
PVC Cross Joint
The align tool sure make this one simpler! I deleted the union group of these shapes by accident so it came in handy to recenter the holes without needing to constrain edges like in CATIA.
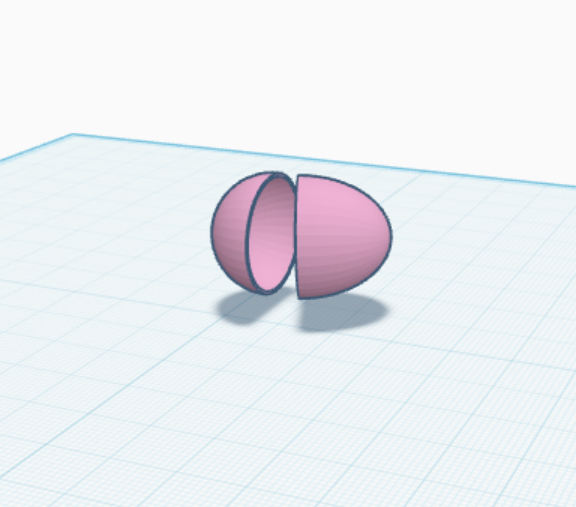
Opened Easter Egg
I enjoyed manipulating the half-spheres to create the opened Easter egg shape! This was far easier than level one. I only needed to copy a half circle and pull the top of it so it would look closer to a narrow cone. Hollowing the egg only required me to copy a shape, make it slightly smaller, make it a hole, and center it with the alignment tool.
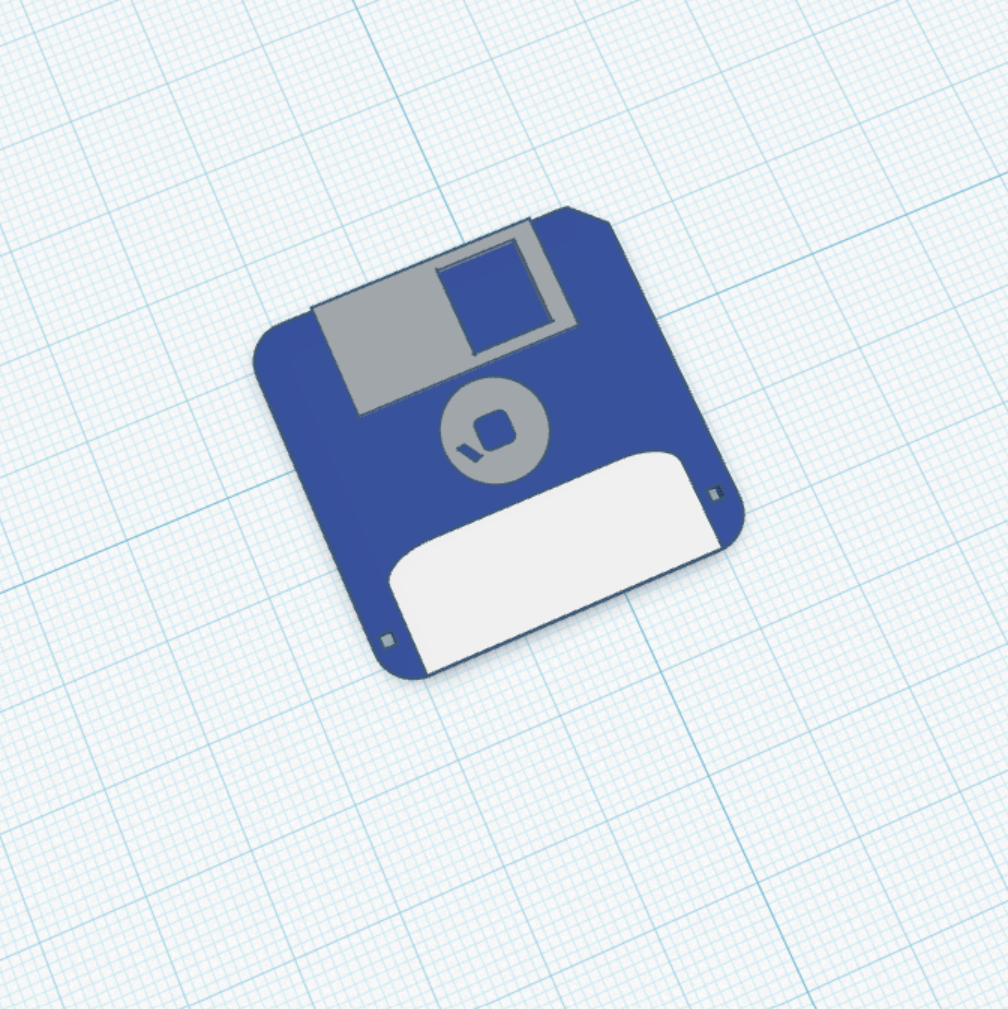
Floppy Disc
This is where the real challenge starts. The order of creating shapes, adding holes, and grouping unions is vital. I screwed it up by forgetting to make the corners of the grey box softer.

White Plastic Fork
Stay Tuned!

Flat Bottomed Flask
This shape challenged my previous 3D visualization in combining shapes. I did not know how to make the flared neck near the opening, or the curvature where the base meets the neck. The class followed Lucas's demonstration, and it was not much of a challenge. However, the I needed to include the red liquid for submission. Thank goodness I did not union group the flask and the liquid!
Important tip: making the flask bigger (up-scaling it) made shaping the liquid and centering it with the alignment tool way easier!
Bowler Hat
This was a very fun creation that still required a frustrating attention to detail. When the brim is not flared upwards on the front, the hat becomes a bowler!
Before moving on, I forgot to hollow it. Fortunately, making a new hat without a brim was easier than I thought. I manually made the size smaller, "holed it," and centered it to make the hat hollowed and wearable.

Aviators
Stay tuned!
Create Your Own Website With Webador